One of the most often-overlooked details on a live stream is the most important: audio. An audience will stay with you through buffering, frame drops, and low-resolution video feeds, but if your audio drops out, then your audience leaves along with it.
Even if you have an audio solution in place, it’s important to ensure it’s coming through crystal clear. To learn more about best practices for mixing live audio, we spoke with some of the trusted audio engineers in our network who were willing to share their wisdom on how to optimize your live stream’s sound.
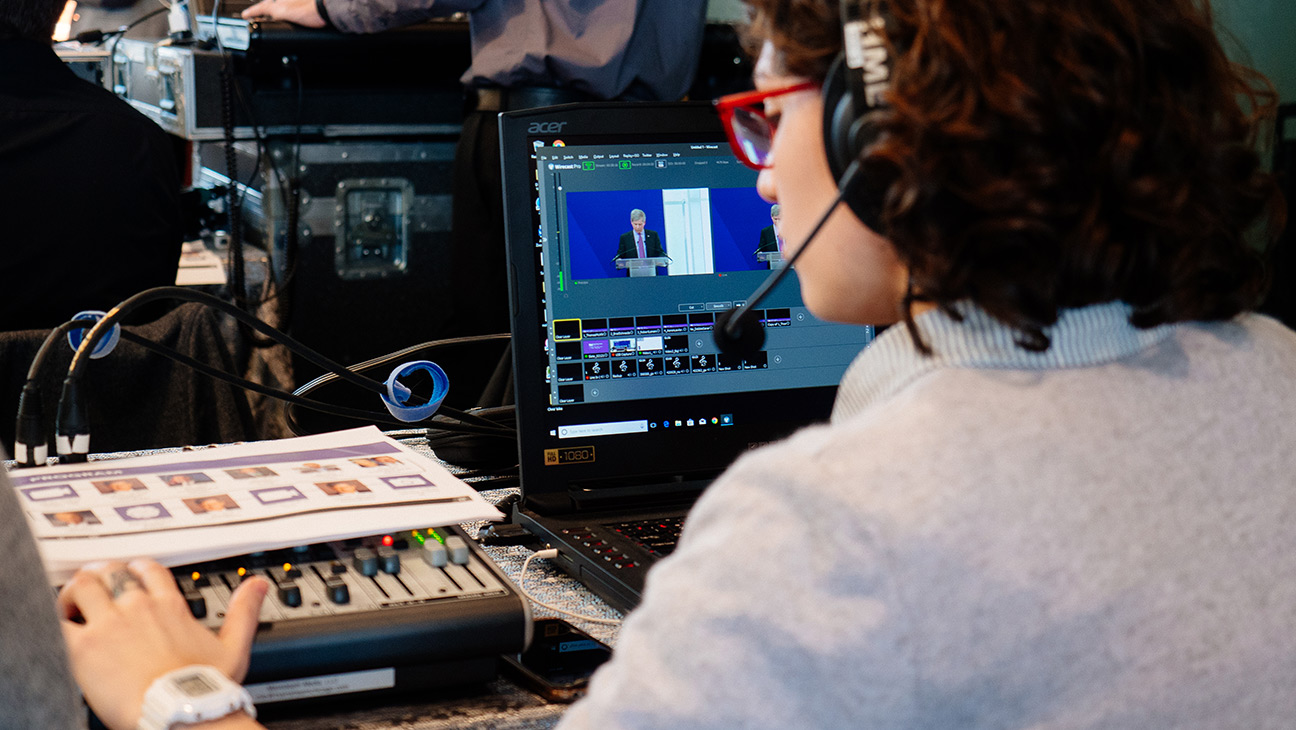
We Can Help You Live Stream. Get In Touch Here!
Setting your Mix Level Correctly

Mixing for a webcast is very different than mixing for in-room audio or even for broadcast. Because in-room audio can largely depend on the quantity of the PA system, engineers will often mix at a very low level and then crank up the gain on the speakers, using their ears to determine when the volume is sufficient. When this signal passes to a streaming encoder, it comes through very soft.
If you’re working with a venue’s audio engineer, make sure they send a clean feed, at a high volume level. AJ Menconi, founder of 25/8 Production & Labor in Chicago notes, “If I’m looking at my LED levels, I like them in the high green splashing yellow. You never want it in the red as this sound can come across to hot and garbled.”
Our mantra: mix to -6. If you’re getting audio levels that are peaking right around -6dB on your board with an average speaking volume around -12, then you’re in good shape.
To confirm your mix is leveled correctly, you need to monitor it at all points in the signal chain. Use high-quality, over-ear headphones to perform your mix. Make sure all audio sounds good at the mixer, in your encoder, and at the final broadcast destination. Here’s Menconi’s advice:
You will almost always be required to mix on headphones for webcast mixes, so make sure you test your headphones in many different situations. It’s also important to have a computer with the live broadcast near you so you can monitor the sound as your audience hears it. Just remember this sound can be delayed anywhere from 3 to 30 seconds, so don’t get trapped listening to the broadcast or you will fall behind your live mix.
As a final reminder, don’t forget to set levels on all your video sources. Videos produced for the web are mixed to all sorts of different levels, so make sure they’re set at around the same level as all your other sources. Solo each source so you are certain that each feed sounds correct.
When to Use a Mixer
For optimal control over your sound, we recommend running all your audio sources through a mixer. This gives you fine control over each audio source, allowing you to just gain (volume), equalization, compression, and signal route as needed.
A mixer is probably unnecessary if you’re only using one microphone (for example, at a press conference). If you only have one audio source, you should be fine routing it to the XLR input on your camera.
Start considering a mixer if you have 2-3 audio sources. These sources could be a mix of microphones, computer audio playback, or video conferencing calls. By running all sources through a mixer, you can confirm that the levels coming from each source are consistent.
Mixers are critical if your audio is going to more than one source: for example, an in-room amplification system as well as your webcast. Even base-level professional mixers have auxiliary output options, allowing you to send sources to different locations and at different levels.
Menconi recommends the Mackie ProFX12 board as an entry-level model. “With 6 true XLR inputs, real sliding faders, and the form factor to fit inside a pelican case, this board checks a lot of boxes,” he says.
Common Mixing Effects and When to Use Them
“Dynamics processing is your friend. By reducing the dynamic range of your broadcast mix, you can increase your program’s perceived loudness to match that of many of the post-produced videos already online.” – Jon Shedler, owner of Sonic Pixel Media
Now that you’ve ingested your audio sources, you’re ready to optimize them for live streaming. The first thing you’ll want to do is set your eQ, or equalization. Equalization is the process by which you balance the frequencies of your audio signal, emphasizing and clarifying the human voice.
Mike Sanfilipp, Technical Marketing Coordinator at Toontrack, recommends applying a high-pass filter to your mic sources. High-pass filters attenuate lower frequencies, so your audio sounds more clear. If your audio still sounds a bit muddy after applying a high-pass filter, he recommends cutting a few dB in the 200-300 Hz range. For sibilant voices – that is, voices with an emphatic pronunciation of the letter “s” – use a bell filter to lightly cut the 6,000 to 8,000 Hz range.
Some people talk loudly; others soft. Still others will go from soft to loud in a single sentence! While this makes for engaging storytelling, it can present difficulties for your online audience to hear. Compressors allow you to smooth out volume spikes, creating an even, well-rounded tone. This is especially useful if you’re moving a microphone from one speaker to another, or if your speaker turns their head away from their microphone. Most digital audio mixers will have built-in compressors. Only use as much as you need, though: Sanfilipp warns, “compression can ‘undo’ eQ to some extent.”
Noise gates help remove background noise from your broadcast, keeping your audience focused on what’s being said. Basically, they tell your mixer: “Hey! Whatever sound you’re hearing that doesn’t meet our loudness threshold, just don’t take that sound at all.” Setting your threshold to -30dB, for example, would remove any sounds that come in below that level. As with compressors, noise gates should be used delicately: if you’re too aggressive, it can clip out the beginning or end of your speakers’ words.
Conclusion
If you want your audience to engage with your live stream, you need to optimize your audio mix. We recommend using a dedicated mixer to bring in all your audio sources. Once you have routed all your audio signals to the mixer, adjust their levels so that they’re peaking around -6dB and consistently hitting -12dB.
Listen to each audio source individually, making sure there is no bleed between your microphones. If you have time, do so at every step of the signal flow, all the way through to your broadcast endpoint. Facebook, YouTube, and Periscope all have “live control rooms” that allow you to monitor your feed before you broadcast.
Once your levels are set correctly, optimize your sound by adjusting the eQ, applying compression, and adding a noise gate to reduce background sounds.
We’re very lucky to be able to work with pros like AJ Menconi, Mike Sanfilipp, and Jon Shedler. Special thanks to them for their help in writing this article!
I was telling an audience member how great the sound is with my new IEMs. I can hear my amplified cello clearly over the rather loud four piece band for the first time, while eliminating the need for floor monitors that make the cello feed back. My friend asked why the same in-ear solution isn’t available to audience members who came to listen to music and not people chatting around them. Your article addresses some of the challenges of creating such a product, but it must be possible with today’s technology. Thoughts?
https://www.facebook.com/carboncitylights/videos/890409477992335/UzpfSTY3MjYwOTc5NDoxMDE1NzI5Njk5NzIwNDc5NQ/